There’s nothing like the power and popularity of channel letters to announce your company’s location. Maybe you need colorful, whimsical front-lit channel letters to blend with your business’ lighthearted image. Or maybe what you do calls for halo-lit letters that will cultivate a trim, serious appearance. Either way, channel letters could be your business’ way to reach the world with your name and logo. So, today, we’re taking a look at how to install channel letters.
Thanks in part to the variation you’ll find among channel letters, installation looks different in different situations. On top of the variation among the letters themselves, every location is different. Some channel letters might be installed on a building’s exterior—whether a high-rise or a small shop. Other letters may take their place in a building’s interior, but even these could be large or small. Despite the inevitable variation, we’ll offer seven easy steps to install channel letters.
1 – Assemble required equipment, tools & supplies
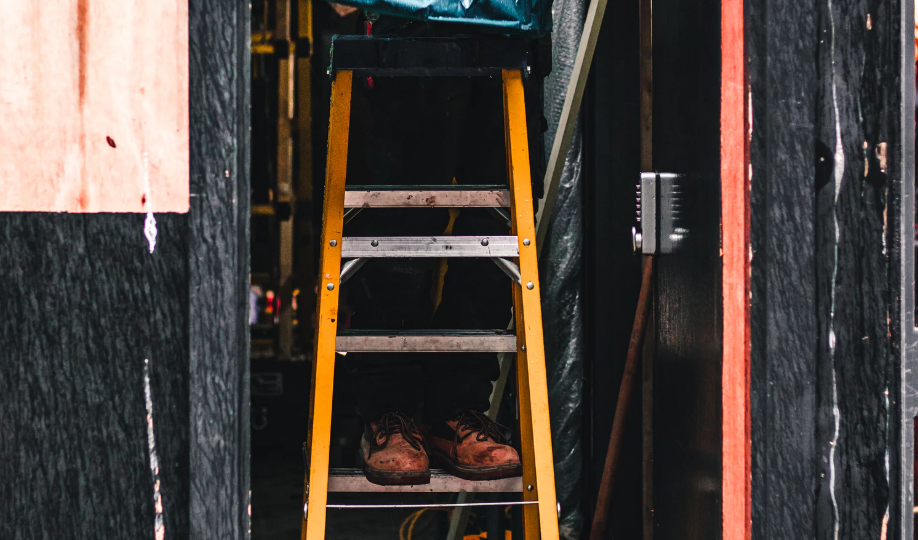
Depending on the situation, channel letter installation may require a bucket truck. However, for easier jobs, a ladder (or more than one) might be sufficient. Other materials required could include: sign template (and tape for temporarily securing it to the building), sheet metal screws or concrete screws, rope, and a screw gun or power drill.
2 – Determine manpower needed
Even in our age of advanced technology, you’ll need to have adequate human assistance for installing channel letters. More difficult or complicated projects could require more people working on them. For one thing, the size of the channel letters might dictate how many people you need.
Plus, there’s also the height of the building to take into account. In some situations, it may be helpful to have some installers on the roof because they’ll be able to pull the letters from above.
3 – Create & place template (if using)
A template can help you know where to place the letters once you reach the building. Mark your template so you’ll know where the letters should be screwed. Once you’ve taped the paper template to the installation surface, you can drill holes according to the template markings.
4 – Remove template
Once you’ve drilled the necessary holes, you can pull off the temporarily-secured template.
5 – Place channel letter bases on installation surface & secure
This sounds simple, right? But if you’ve ever seen enormous channel letters atop a skyscraper, you have to wonder just how to make that happen. Placing channel letters, depending on the size of the letters and the size of the building they’re going on could require more forethought than you might imagine.
If the project is easy and small, you might just carry the letters up a ladder, hold them in place, and screw them in. However, if you’re dealing with a larger scale situation (perhaps larger letters that have farther to go), the approach might be more complicated. For instance, you may need to secure each letter with a rope and have one team member pull from the rooftop while other team members climb ladders and guide the letter’s ascent.
Sometimes you’ll place only the base of the letter and secure it according to the pre-drilled holes, adding the sign face afterward. Other times, you might opt to place the whole letter at once and secure.
6 – Run & test wiring
If your channel letters are illuminated, your work doesn’t end simply at securing them to the building. You’ll also need to see that they’re wired correctly so that they actually do light up. Even if your bulbs are already installed in the channel letter base, you may still need to run other wiring and connect it to a power source.

Note that electrical work should be done by a qualified professional in accord with any rules applicable in your area. Plus, you may need to test to ensure the lights work correctly before adding the sign faces.
7 – Place sign faces & secure
Obviously, this only applies to signs whose bases were secured first without the face. Naturally, you have to add the sign faces—without them, the entire project would look like a failure.
Installing channel letters without a template
Now, you may be placing channel letters without the benefit of a template and its resulting pre-drilled holes. In that case, don’t forget to measure and ensure your letters are even as you install. The last thing you need is channel letters frolicking across the face of your building. Unless you’re a kid’s amusement center named Hopscotch, or something in that vein, you likely want your letters to be straight and evenly spaced.
If you’re not confident about your ability to secure the letters yourself, you can always call a sign professional. Often, companies that make signs are also license to install them for you!
How to install channel letters—a raceway
As you research how to install channel letters, you may have noticed that not all letters are installed directly on a building’s wall. Instead, some are first secured to a raceway. Then, the raceway is mounted to the wall. If using raceway, you may opt to mount the letters to it before you even get to the building where you’re installing the letters. Screw the backs of the channel letters to the raceway, then place the letter fronts on.
Helpful hint—don’t install letters upside down
Here’s a random helpful tip when installing dimensional letters (even if they’re not channel letters). Pay attention to the orientation of the “S” —if your word requires an “S,” that is. While the letter may look like it has no right side up or upside down at first glance, appearances can be deceiving. Even reputable groups make this mistake when placing dimensional letters. Still, the mistake can be noticeable to the discerning eye.
Signs for success
Once you know how to install channel letters, check out How To Customize LED Channel Letters & Make Your Business Shine! And take some time to dig into other types of signs you can harness for your business’ success. Head to A Comprehensive Guide To The Different Types Of Signage & Their Uses. Also, remember that signage can be a part of your overall brand-building strategy—so take a look at The Importance Of Brand Awareness To The Success Of Your Business