Lighting undoubtedly changed the course of advertising. It revolutionized the way we create and use signage since the 1800s.
Suddenly, businesses could attract attention by using signage no matter the time of day or night. Illuminated signs created whole new opportunities to catch the audience’s eye. It’s no wonder that these types of advertisements are still some of the most popular today.
One of the best of these is backlit sign boxes. If you think this might be the choice for you, read on for our guidelines on effective design.
What are backlit sign boxes?
We are undeniably drawn to bright and shiny objects. Advertisers have long known that this can be a brilliant tool to help you promote any venture and catch the eye.
That’s why products such as illuminated sign boxes are so popular. Fabricators construct these products with LEDs that shine through materials like colored acrylic facing. You can choose between different options that are lit up in different ways.
Backlit sign boxes specifically are displays that are illuminated from behind.
Pros of backlit sign boxes:
So what makes illuminated sign boxes better than other options?
It’s important to consider all the benefits and whether they are what you are looking for.
- Lighted signs are great at drawing attention.
- The illumination will allow your sign to be visible and legible 24 hours a day, seven days a week.
- You can create a more atmospheric effect with backlighting than with standard lighting.
- Backlit signs can make the text more impactful by creating shadow effects.
- The illumination can add depth to the sign, especially when it comes to graphics. They will no longer look flat. Instead, they will stand out and be more impactful.
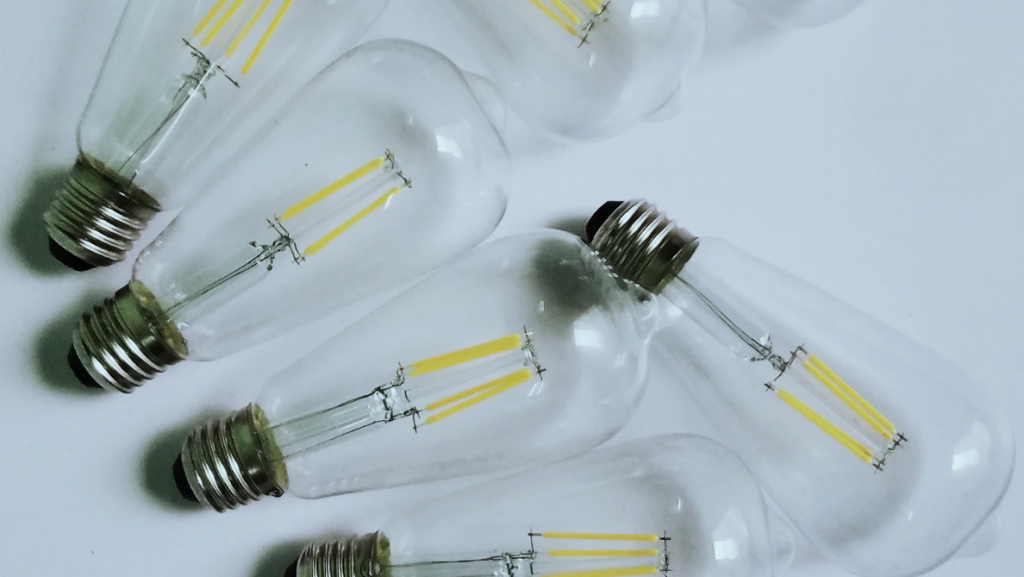
- Contemporary sign boxes usually come with LEDs instead of traditional light bulbs. Therefore, they are more cost-effective, low energy, low maintenance, and they are longer lasting.
- Highly customizable.
- Sign boxes are versatile, and you can use them in a variety of locations.
- The sign will stand out from other illuminated and non-illuminated signs in the area.
Cons of backlit sign boxes:
Yes, there are superb benefits to using illuminated box signs. But you should always enter into any business decision with both eyes open. So you need to weigh the cons as well.
Here are some of the primary disadvantages of using backlit sign boxes:
- Of course, they do still use some electricity. So in this sense, they will cost more and be less energy-efficient than signs without lighting.
- All of this means that you need to install it so that it can be connected to a power source. Because of this, the mounting process will be more complicated.
- The initial investment can be quite costly.
Questions to ask yourself:
If you want to create an impactful design, there are a few questions you need to answer first. Each of them is geared towards helping you create the perfect backlit sign box.
What’s the purpose of the sign?
Design can be defined as a way to devise something for a specific function or end. Therefore, in order to start planning your sign, you have to decide on a goal. It is a crucial part of the process.
The possibilities seem to be endless. However, people typically use backlit sign boxes as name signs, building signs, and menu boards. Considering this might help you to narrow things down.
Pro tip: Remember that you can’t achieve everything with one sign. Instead, you want to use several different products in conjunction as part of a bigger plan or strategy.
Where will you install your backlit sign box?
This question is vital with all types of signage. You need to make sure that you can install the sign there. In short, you need to make sure that the sign is durable enough for the circumstances, and you design it to look fantastic in this spot.
We recommend that you consider the following:
- Do you want to put it indoors and outdoors?
- Is there a power connection, or can you install one?
- How does the background look?
- Are there any signs in the immediate surroundings?
- What are the weather conditions?
Give all of this information to your sign company. They will be able to advise you on how to adapt your product to this.
Overall, lightboxes are pretty versatile, and sign professionals can build them to suit all types of environment.
What is your budget?
To make the sign worth your while, it’s crucial to work out a budget. You need to calculate how much you are willing and able to spend. Try to choose a reasonable price that will still allow you to get a high-quality sign, without breaking the bank.
On average, illuminated signs may cost you $30 or more per square foot. And products that are lighted with neon are even more expensive and cost about $200 to $1,200 per square foot.
Advertising can be like a black hole. You can pour infinite amounts of money into it. So you have to draw the line somewhere.

Design elements of an illuminated sign box
Both professional and amateur designers can benefit from breaking down the design process into different parts. You can see these as separate elements that are necessary to create a complete and holistic display.
To stop yourself from getting overwhelmed, go through the process step by step.
Materials
Remember that design is not only about the contents such as the graphics on the sign. You also need to consider the hardware and construction methods of the product. One aspect of this is picking the material from which it will be fabricated.
Some of the top options are:
- Acrylic: Overall, this is one of the most common materials for all types of signs. It is moderately priced and is usually extremely resistant to fading.
- Panaflex: This material is a fantastic budget option. The signs are low cost and low maintenance, but they tend to fade much more quickly.
- Aluminum: Another very common choice for signs is aluminum. The metal is lightweight and exceptionally durable. However, it can be relatively costly. You can use this on its own for sign boxes or in combination with acrylic.
All things considered, panaflex is better if you are looking for a temporary and short term solution. On the other hand, acrylic or a combination of acrylic and aluminum are better for longer-lasting signs.
Choose your lighting
No doubt, one of the distinguishing characteristics of these signs is precisely the fact that they are backlit. Overall, this is the essential element through which the sign catches the eye. But it also helps you to make the box more attractive.
In the past, people primarily used fluorescent bulbs for signage. Nowadays, however, LEDs seem to be the best option.
Besides this, you get to choose the color of the lighting. RGB LEDs give you the chance to use an infinite number of shades.
The safest option seems to be white, which is perfect for creating contrast around the edges. But blue and green can also work well. Just keep in mind what will complement the graphics and text on display.
Brightness
Another design element is the brightness of the lighting. You need to make it bright enough to catch the eye and highlight the contents of the sign. But not so bright that it obscures the image.
In general, the requirements for brightness range between 800 to 1,500 nits for the indoor displays. And 1,500 to 2,500 for interior signage that you will mount in a spot with sunlight.
On the other hand, experts suggest that you use 5,000 nits for outdoor signs, and they suggest 5,000+ nits for signs which you mount in a spot where it will get full sun exposure throughout the day.
So, in other words, the darker the area, the lower the brightness has to be and vice versa.
Think about color
Backlighting seriously makes the colors on sign boxes pop. This can greatly help you to enhance the appearance of the display. However, this means that it is even more important to choose the right shades.
For a backlit sign box, you want to use palettes that are high contrast. That’s why most combinations include white.
A few of the popular combos you should keep in mind are:
- Black and white
- Yellow and grey
- Green and white perhaps with a splash of red
- Black and yellow
- Orange and white
- Blue and white
Shape
Traditionally, fabricators made most illuminated sign boxes in rectangular or square shapes. Probably because these forms are the easiest to construct, they are still widely used today. Besides this, they usually look neat and coherent.
Each shape has its own benefits. And they will typically work better for different purposes and content.
Here is a short guide to the options:
- Rectangles: The shape is better for signs with fewer words.
- Squares: You should consider this if you have more than one line of text.
- Ovals and squares: These forms are great alternatives. The former for signs with little content and the latter for those with several lines of text or content.
- Themed shapes: Another option is to choose a form that is suited to your business. Or get one that can even act as a symbol of it. For example, using glasses-shaped signs if you’re an optometrist and so on.
Text
Don’t use too much text! Try to think about how you can convey your message with the least amount of words. To make it impactful, you need the content to be legible. So you want it to be large enough to be visible.
You should consider the same criteria when you are choosing the font. Don’t choose styles that are ornamental or have a thin profile.
Graphics
Using graphics are an excellent way to enliven your backlit sign box. It can help you to make the complete picture much more exciting and appealing.
However, you need to be careful about the images that you use. In general, you want to stay away from pictures that are too detailed or ones with ultra-fine lines. More likely than not, the images will blur, and you won’t be able to see what it’s trying to portray clearly. Therefore, logos are an ideal choice.
For this type of sign, it often looks best if you use the primary shades of color scheme for the graphics too. However, you can also highlight the images by using bright colors if the palette is neutral.
Choosing the right combo
One more design element to consider is whether you will use it on its own or not. Illuminated sign boxes can usually work very well if you combine it with other types of signage. These combinations will help you to get the most out of both of them.
All in all, one of the best ways to use backlit sign boxes is to mount them on larger monument signs. It is a good option if you are looking for shopping center signage or ones for a school.
However, a backlit sign box tends to work better on its own for building signs. For example, people love to use them for bars, night clubs, restaurants, and retail outlets that are open at night.
Panels
Are you planning on changing the sign in the new future? Or do you think it’s at all likely?
If you are on a tight budget, you probably don’t want to replace an entire sign. Not only is it uneconomical, but it can also cost you time and extra effort too.
Luckily, you can prepare for this eventuality.
A standard backlit sign box typically has a single continuous front panel.
However, you can ask your signage company to create the box with several panels. They can connect these so smoothly that you won’t be able to tell the difference. And if you want to make small adjustments, you only need to replace the relevant parts.
Advertising strategy
As seen in the development of the backlit sign box, all types of signage and advertising are continuing to evolve. And there are no signs of progress slowing down. With this in mind, it’s important to use a combination of old products and methods along with new ones. This is a surefire way to make sure to get the most out of your signs and advertisements.


